
WORKING ON THE KITCHEN - DIY KITCHEN REMODEL
For a few years, every time I would cook dinner in our kitchen, I would envision cooking in a kitchen much bigger and in a space our family could hang out. I HATED how little counter space we had, and even more so, I hated that the kitchen had very little natural light. After having our house on the market for over a year we received so many "it's so cute" or "we love the house" comments, but not a single person put in a bid. We decided that we would work to make this house beautiful in all the parts we wanted to love, but didn't really. Then, if we did decide to sell it, we would have a few more "wow" parts to set our home apart from the others on the market. The first thing we tore into, was the kitchen wall. This is the first post that shows the wall coming down and the new bathroom being framed in! Having a family of 6 and only one full bathroom is finally coming to an end!
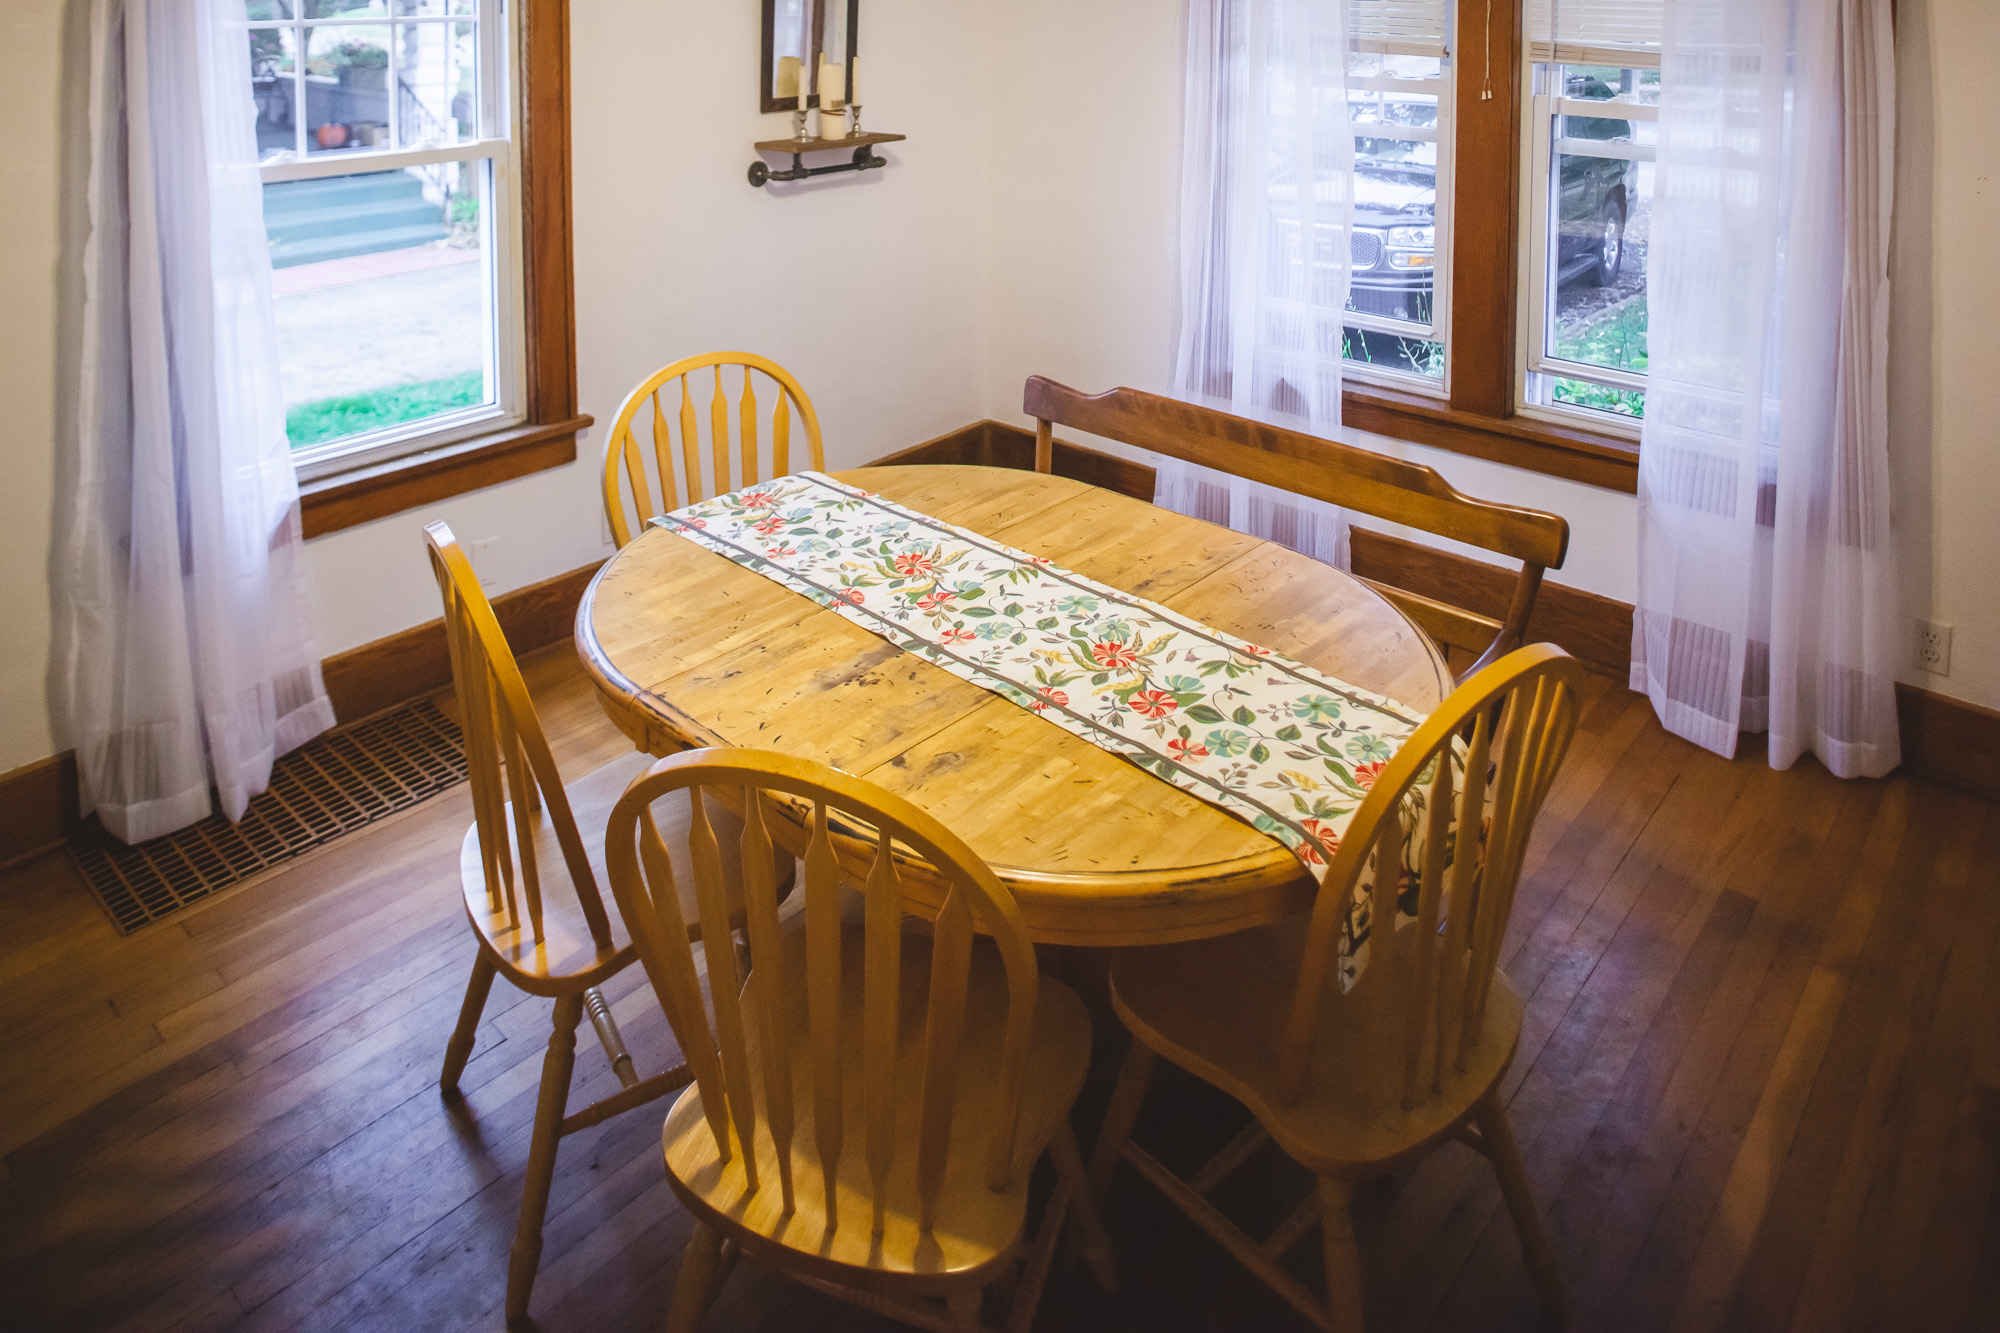
As a little reference, here are the shots of our kitchen/dining room area from the listing so you can see where we started :)


We stared this project like many others, we were home at night and couldn't stand it anymore. So, we did what any reasonable person who has a DIY mentality would do, we grabbed hammers and screwguns at 8pm and started in!

I got all the cabinets down, outlet covers all removed and trim off the walls right before my wife made me quit because I was being loud. The next day, we really got after it!


With the wall down (and in the driveway), we had our friend Damien com in to start the bathroom. We had the bathroom and plumbing all subbed out to the pros. You would be BLOWN AWAY how much building material was in a single wall in our home! There's a reason older homes don't shake in wind storms, they weight about 3 TIMES as much as a new build! We had the inner studs, which were pine or maple but SUPER heavy and actually 2x4" coated by 1/4' oak lathe boards which was coated by a solid 1/4=1/2" of plaster (aka CEMENT!). This pile wasn't even all of the mess b/c we saved a lot of the lathe boards and all the plaster went in bags!

I remember walking into this mess and thinking "what are we DOING??" on a few occasions, but within just a few days, our mess started looking a little more like a functional space. We have SO much more to show and share, but this is basically how we spent our entire summer/fall! Cooking on the porch and eating dinner outside. It was glorious and extremely challenging. Our family totally champed it out though and my wife, who usually can't STAND not having things put together, did an unbelievable job planning dinners and cooking without a real "kitchen" for almost 3 weeks! Even then, we only had a sink. We didn't get our stove and countertop for months after.
